
人物の下の方が徐々に消えていくようなデザインを作ります

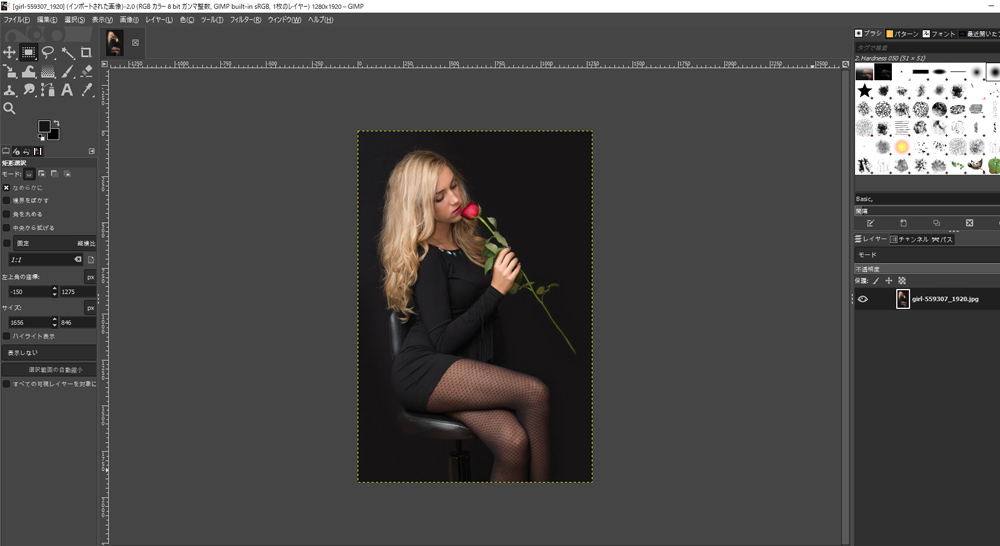
今回使うのはこの女性の画像(*’ω’*)
素材はO-DANから取ってきました。
こういう足元まで映ってない画像は特に効果的な作業です!
GIMPにこの画像を読み込んでアルファチャンネルを追加します。
アルファチャンネル追加で透明化を有効にできます!
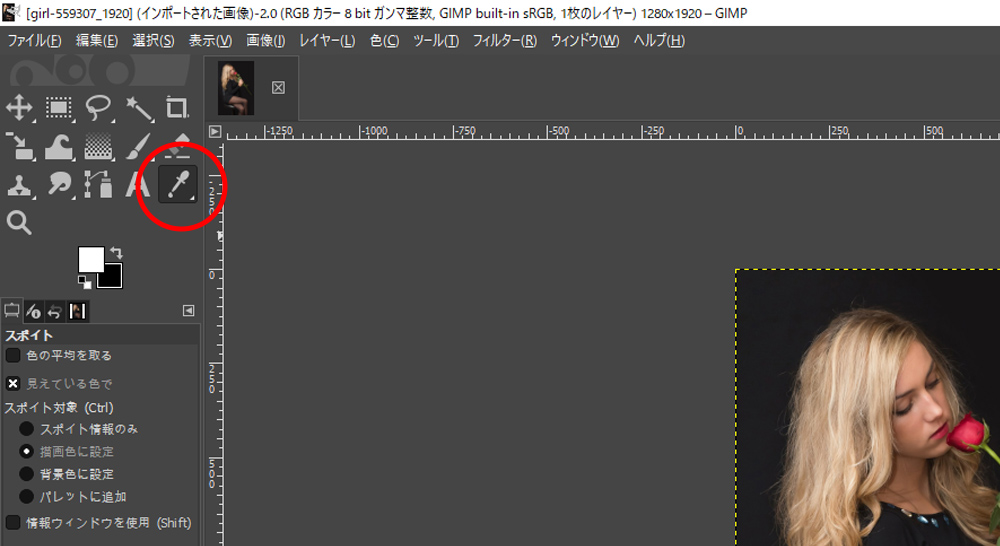
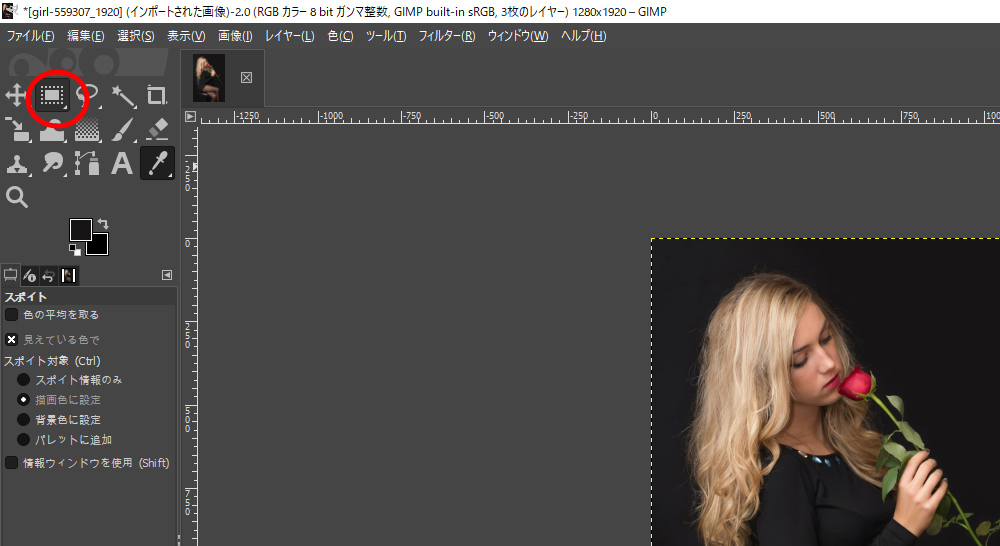
画像赤丸の中の【スポイトツール】を選択します。
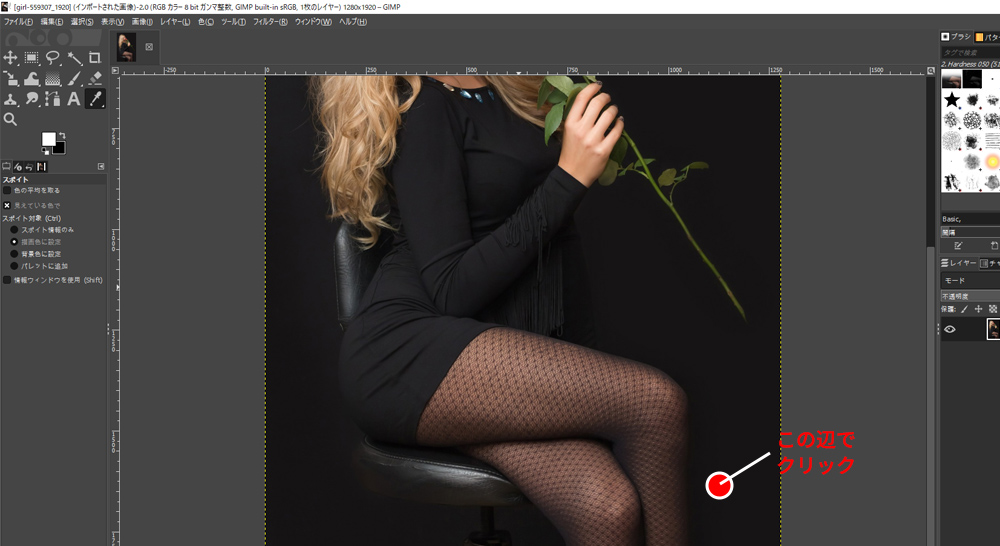
画像の印の辺をクリックします。【スポイトツール】とは選択しているレイヤーの
クリックした箇所の色を吸い取るツールです。
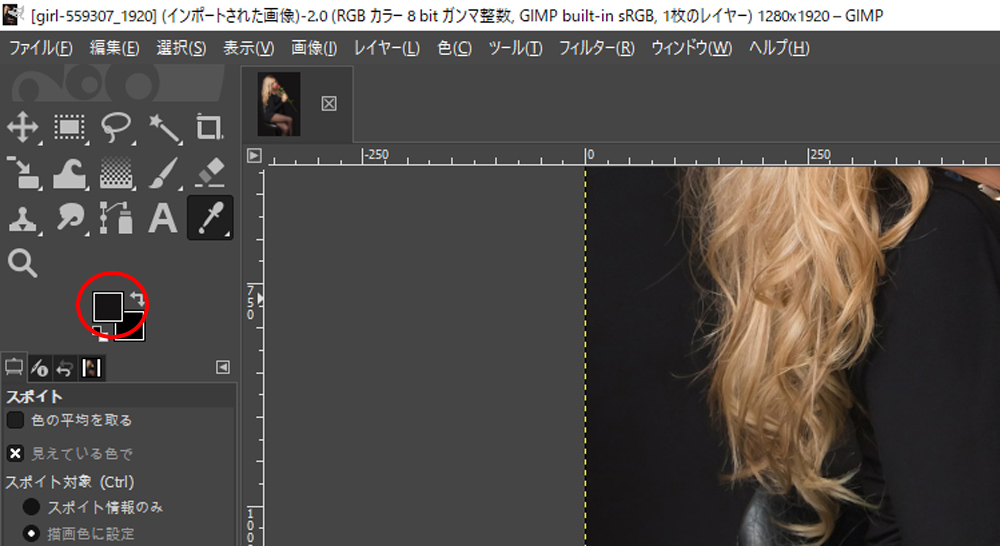
スポイトツールで吸い取りした色は描画色に反映されます(‘ω’)
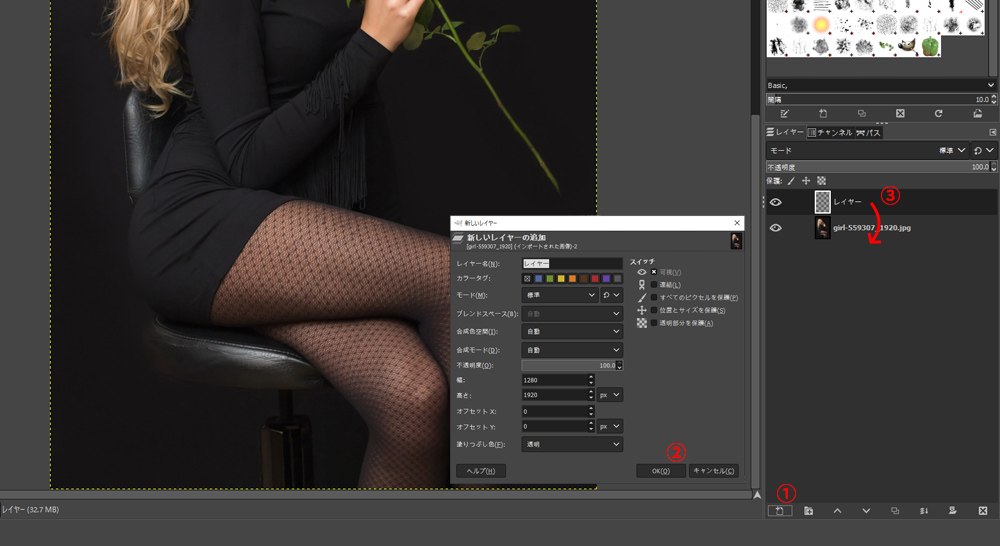
①新規レイヤー追加
②新しいレイヤーの追加パネルが出てくるので【OK】クリック
③新しくできたレイヤーを女性のレイヤーの下にする
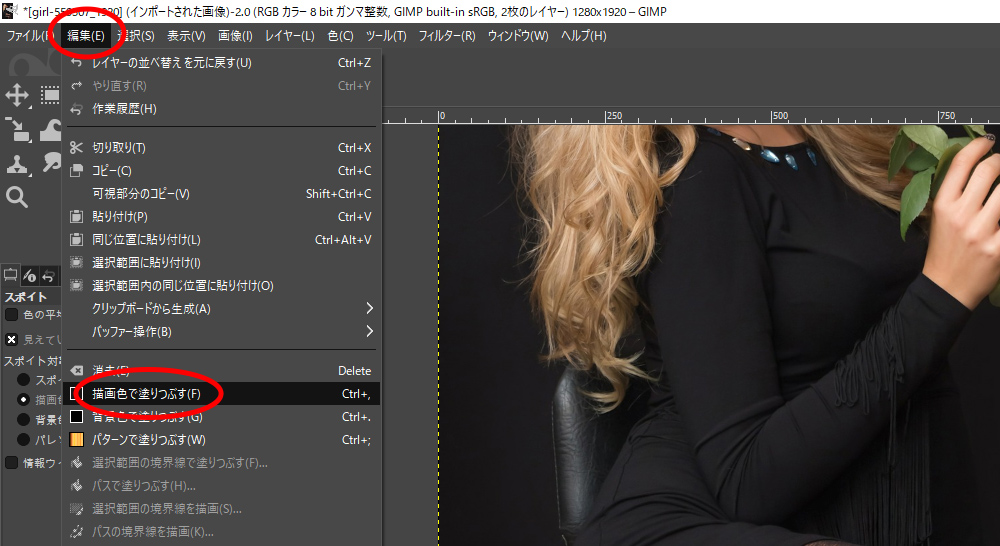
新しく作ったレイヤーを描画色で塗りつぶしします。
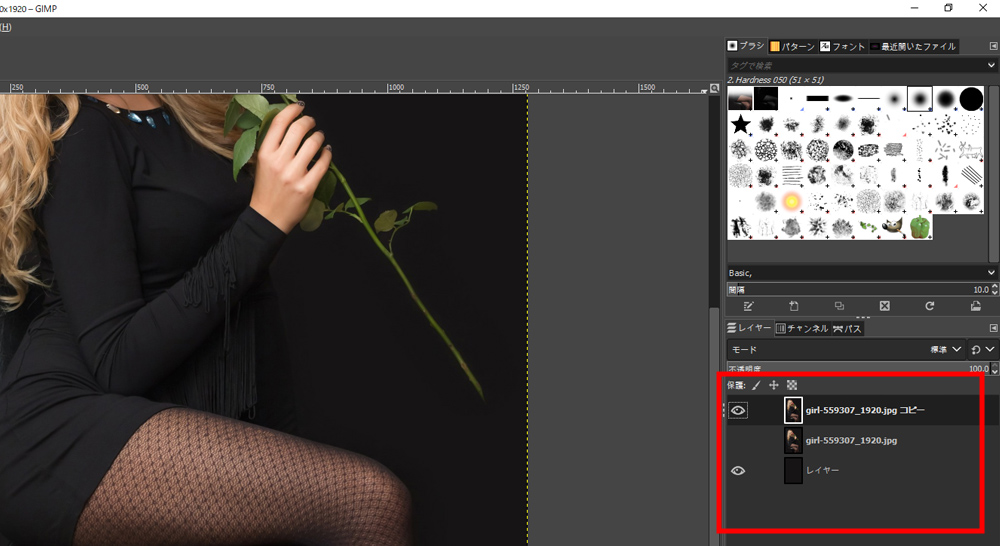
女性のレイヤーをコピーします(任意)
2枚になった女性のレイヤーのどちらかは非表示にしておきます。
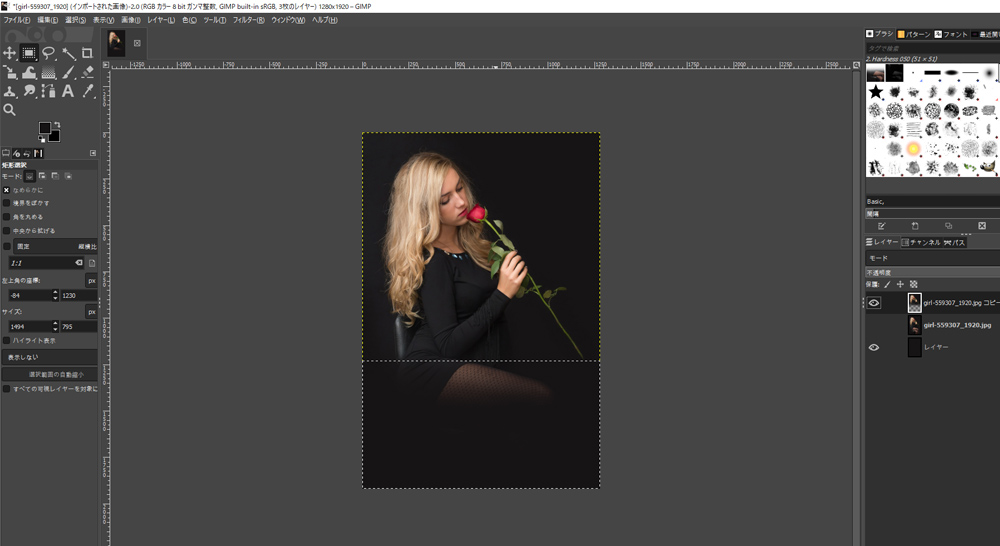
【短形選択】ツールを選択します。これは選択範囲を四角形で選択できるツールです。
このツールをクリック長押しで【楕円形選択】も選べます。
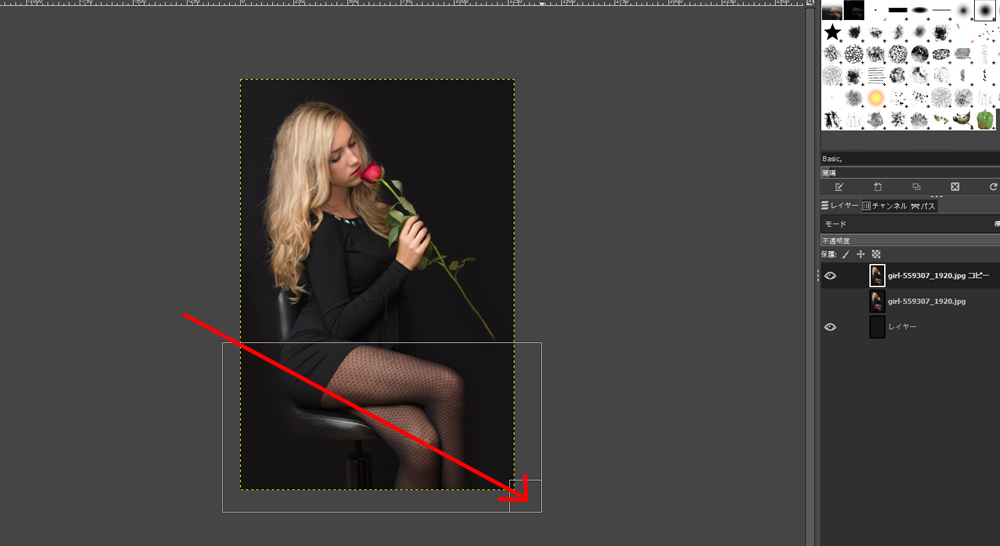
短形選択ツールを選択してから女性の画像の下の方をドラッグして選択範囲にします(*’ω’*)
ドラッグして選択範囲が決定されたら
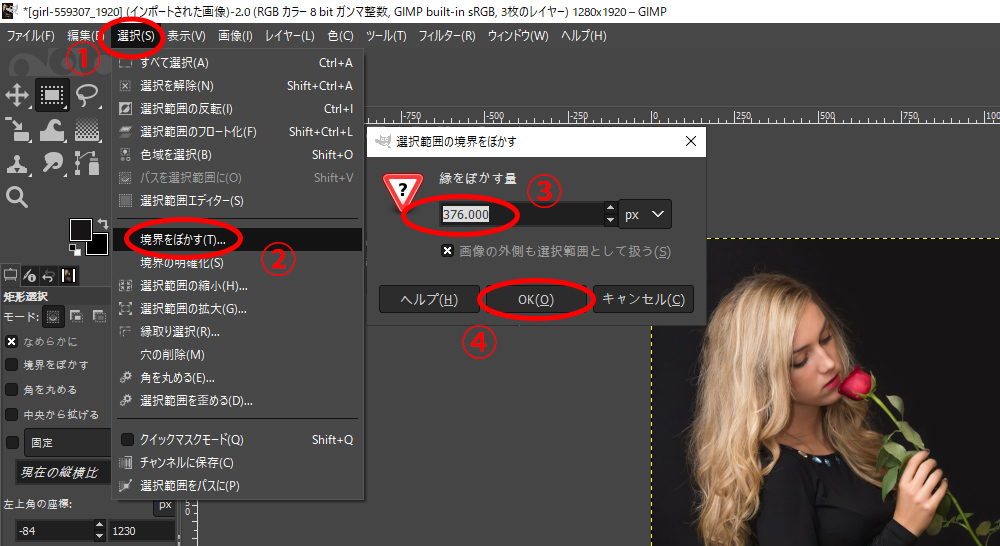
①上部メニューから【選択】
②【境界をぼかす】を選択
③適当に【縁をぼかす量】の数値を決めます
④【OK】クリック
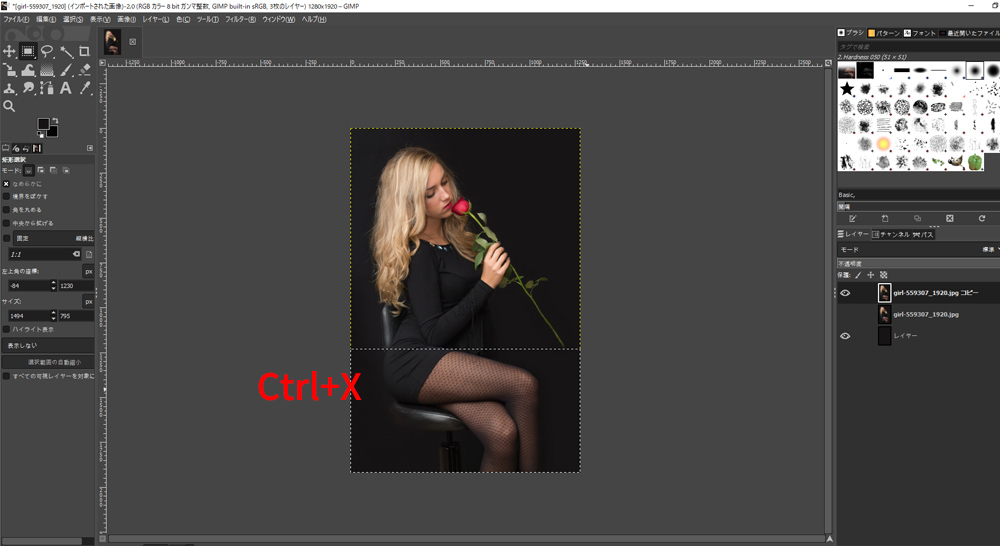
ぼかしが決まったら選択範囲を切り取りします。
するとこんな感じになります。女性の足がうっすら消えて暗闇に隠れているような感じになってます。
そして選択範囲を解除します。
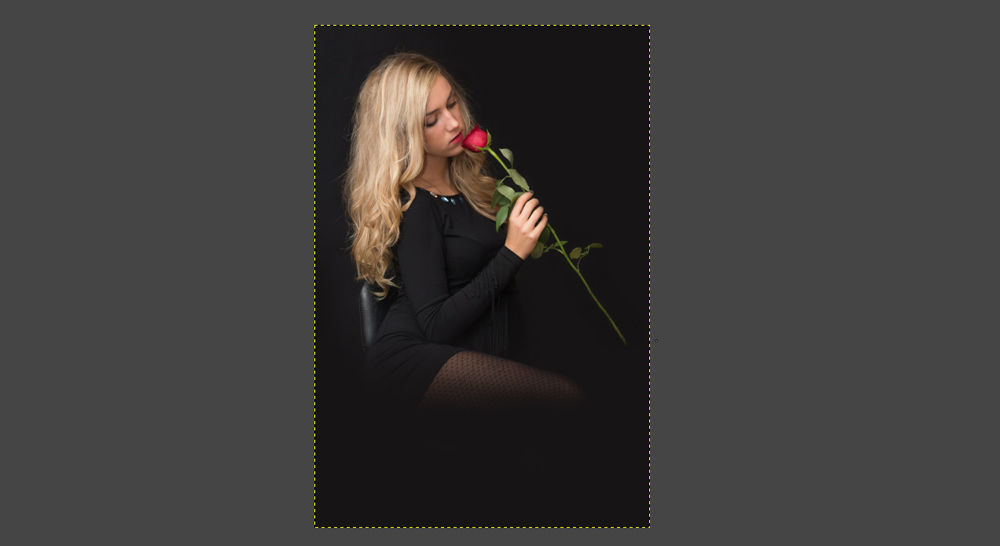
完成でございます(*’ω’*)。
この技を使えば幻想的なデザインや上半身しかない素材を浮かびあがるような表現もできますね!
不透明度を変更したり、ぼかし具合を変更したりでもう少し変わった描写もできますので
いろんなとこをいじって挑戦してみてください。
ちなみに女性のレイヤーのコピー取ったのはこのやり方だと画像が元に戻せなくなるからです。
他にもいろいろやり方あるのでまた説明します(*^-^*)